3 Point Center Rectangle
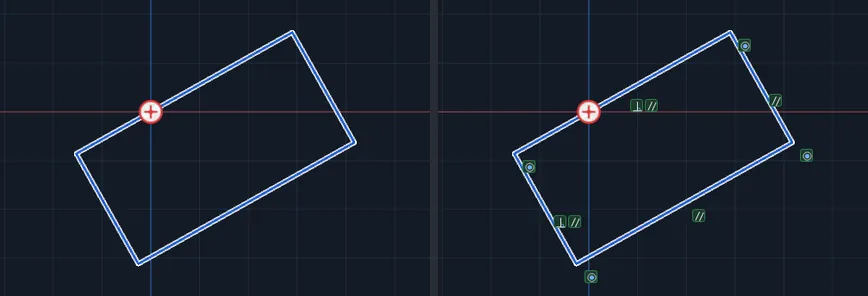
Draws a rectangle at any angle, from its center. You click the center, then the middle of one side, then a third point that sets the other width. The rectangle is balanced about the center you chose.
When to Use It
- A slanted plate that must stay centered on a point
- A rectangle whose center and direction you know
- Any time you want the angle of the first side to be free but the center to be exact
Step by Step
- Open a sketch on a plane or a face (see Planes and Faces). Sketching is part of modeling, which comes with the Pro plans.
- On the Sketch tab, click Rect. In the flyout, click 3 Point Center Rectangle.
- Click the center of the rectangle.
- Click the middle of one side. This sets both the direction of the rectangle and half of its length: the distance from the center to this click is half the length. Hold Ctrl to lock the angle to 15 degree steps. A dashed line shows it.
- Move the mouse and click a corner, or any point on the other pair of sides. The distance of this click from the line through the center and the first side's middle is half the width.
- The rectangle is placed and 3 Point Center Rectangle placed. appears. The tool stays armed.
Options
- Construction Geometry: tick the box at the bottom of the Rect flyout first and the four sides are drawn as dashed construction lines.
Tips and What to Expect
- Clicking in line with the first two points shows Click away from the line to set the width.
- Like the 3 Point Corner Rectangle, this is four lines tied by Coincident, Parallel and Perpendicular relations. There is no width and height box. Use Smart Dimension on two neighboring sides, or double-click a side to type its length. See Dimensions and Units.
- The center is not marked with a point. If you need one, use Center Rectangle, or place a Point and dimension from it.
- The four lines meet end to end, so they close into one outline for Cut or Extrude.
- Esc after the first or second click cancels. One Undo takes the whole rectangle back.