Point
Places a point in the sketch. A point is a marker only: it is construction geometry, so it never becomes part of a cut or an extrusion. Use it as a target to snap to, relate to and dimension from.
When to Use It
- A hole location or a datum you want to dimension before the shape exists
- A place that several pieces must meet or pass through
- A mark for layout that you do not want to draw a line for
Step by Step
- Open a sketch on a plane or a face (see Planes and Faces). Sketching is part of modeling, which comes with the Pro plans.
- On the Sketch tab, click Line. In the flyout, click Point. The prompt says Click to place a point.
- Click where the point goes. A small dot appears. The tool stays armed, so each click places another point.
- To stop drawing shapes, click Select on the Sketch tab.
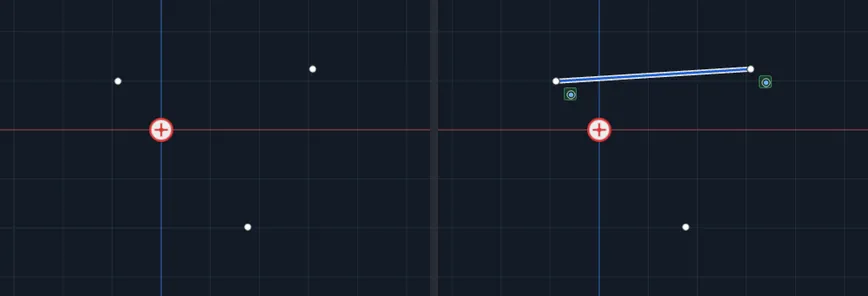
Using a Point
- Snap to it: other tools snap to a point like any other sketch point (the End points and sketch points snap under Snap), so a line can start or end exactly on it. A line that does is joined to it with a Coincident relation. See Relations.
- Relate it: select the point with another piece to offer the relations that fit, such as Coincident, Horizontal points or Vertical points.
- Dimension it: with Smart Dimension, click the point and another piece to give the distance between them. This is how you place a point exactly. A point has no size of its own, so there is nothing to type for it. See Dimensions and Units.
Tips and What to Expect
- The Construction Geometry box on the flyout has no effect on a point, because a point is always construction.
- Points show in the lists of pieces as Point 1, Point 2 and so on.
- Esc cancels nothing here, because a point is placed with one click. To remove one, select it and press Delete, or press Undo.
- A point is never cut, extruded or revolved. If your cut or extrusion leaves out a point, that is as intended.
Related Tools
- Center Rectangle, which adds a center point for you
- Dimensions and Units
- Relations