Midpoint Line
Draws a straight line from its middle outward. You click the middle first, then one end, and the other end is placed the same distance on the far side of the middle. The result is an ordinary line: you can dimension it, relate it and use it in a profile like any other.
When to Use It
- A centerline or axis that must stay balanced about a point
- A line that should be centered on an end or a center you already have, with no measuring
- Any time you know where the middle goes and how far the line reaches
Step by Step
- Open a sketch on a plane or a face (see Planes and Faces). Sketching is part of modeling, which comes with the Pro plans.
- On the Sketch tab, click Line. In the flyout, click Midpoint Line. The flyout closes and the prompt at the bottom of the view asks for the middle.
- Click where the middle of the line goes. The snaps under Snap on the Sketch tab work here, so you can land exactly on an end, a center or the grid.
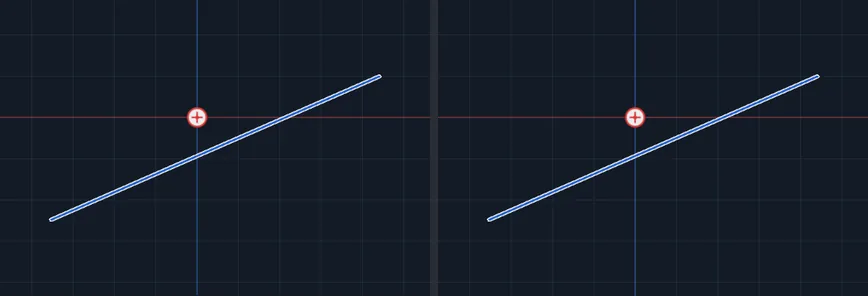
- Move the mouse. A preview shows the whole line, running the same distance on both sides of the middle. Hold Ctrl to lock the angle to 15 degree steps (level, upright, 30, 45, 60 and so on).
- Click where one end goes. The line is placed and the message Midpoint Line placed. appears. The tool stays armed, so you can click the middle of the next line straight away. To stop drawing shapes, click Select on the Sketch tab.
Options
- Construction Geometry: tick the box at the bottom of the Line flyout before you draw, and the line comes out as a dashed orange construction line, used for layout and relations and never cut or extruded. The box applies to the new shapes on the Line, Circle and Rectangle flyouts (not to the plain Line, Circle and Rectangle, which have their own Construction buttons), and stays ticked until you untick it.
Tips and What to Expect
- If the middle click lands exactly on an end or a center of another piece, or on the origin, that point is held at the middle of the new line by a Midpoint relation, so the line stays centered on it. Turn snapping on if you need help landing exactly.
- With Add relations while drawing on (Settings, Snap), a line drawn level or upright is also made Horizontal or Vertical. See Relations.
- Esc after the first click cancels the line and the prompt returns to the first click. The tool stays armed.
- One Undo takes the whole line back.
- To size it afterward, double-click the line and type a length such as
3 in, or use Smart Dimension (see Dimensions and Units).
Related Tools
- Line, Circle, Rectangle, Arc, and Construction for the plain line and the other shapes
- Straight Slot, which draws its own center line
- Relations