Partial Ellipse
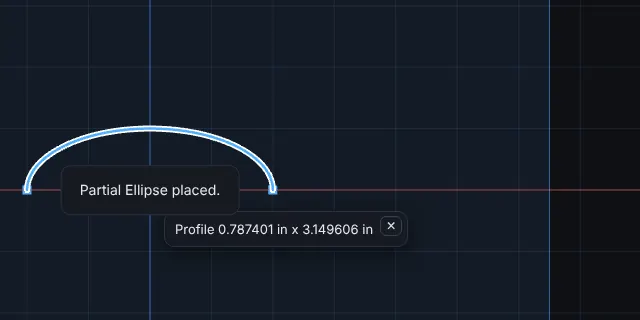
Draws part of an ellipse, like an arc of a circle. You draw the ellipse with the same three clicks as Ellipse, then click where the arc starts and where it ends.
When to Use It
- A rounded end that is not part of a circle
- An oval outline with a flat side: close the arc with a line
- A curved edge on a plate or a bracket
Step by Step
- Open a sketch on a plane or a face (see Planes and Faces). Sketching is part of modeling, which comes with the Pro plans.
- On the Sketch tab, click Circle. In the flyout, click Partial Ellipse.
- Click the center of the ellipse.
- Click the end of the major axis.
- Click to set the minor radius. The whole ellipse now shows dashed.
- Click where the arc starts. Any point near the ellipse will do: the start is the point of the ellipse that lies in that direction from the center.
- Click where the arc ends. The arc runs counter-clockwise from the start to the end, and a preview shows it while you move.
- The arc is placed and selected. A message says Partial Ellipse placed.
Options
- Major radius and Minor radius: type the radii in any unit before you start, as for Ellipse.
- Construction Geometry: draws the arc dashed.
Tips and What to Expect
- The arc goes counter-clockwise as you look at the sketch. To get the other part of the ellipse, click the end first and the start second.
- A start and an end in the same direction from the center (or almost) show Pick a start and an end that are different points on the ellipse.
- A partial ellipse on its own is an open curve. Where its ends meet the ends of lines or arcs, the pieces form one closed outline that Extrude and Cut use. The ends must meet, so click on the end with the snap.
- It can be dragged, or moved, turned and scaled with Move, Rotate and Scale. It has no relations and no Smart Dimension yet, and Trim, Extend, Offset Entities and Sketch Fillet do not work on it yet.
- Esc cancels while you are placing it. One Undo takes it back.